


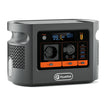
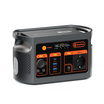

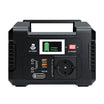
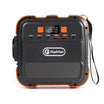

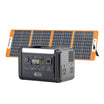
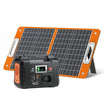
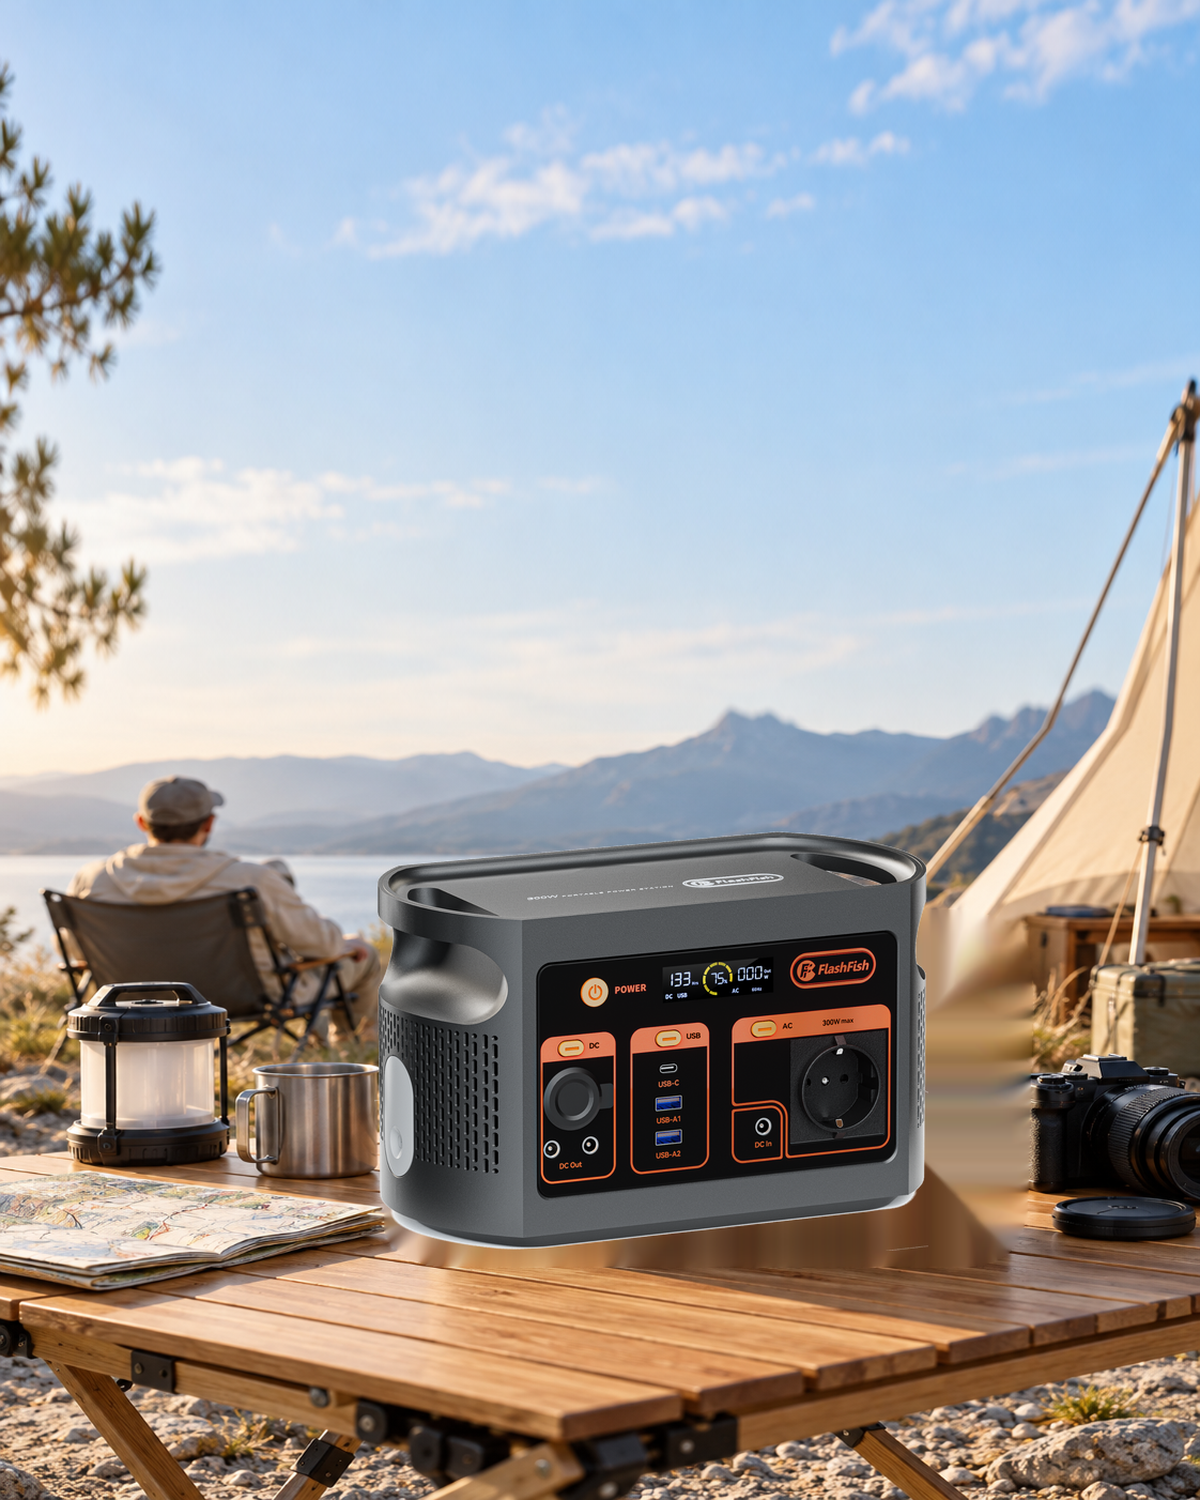
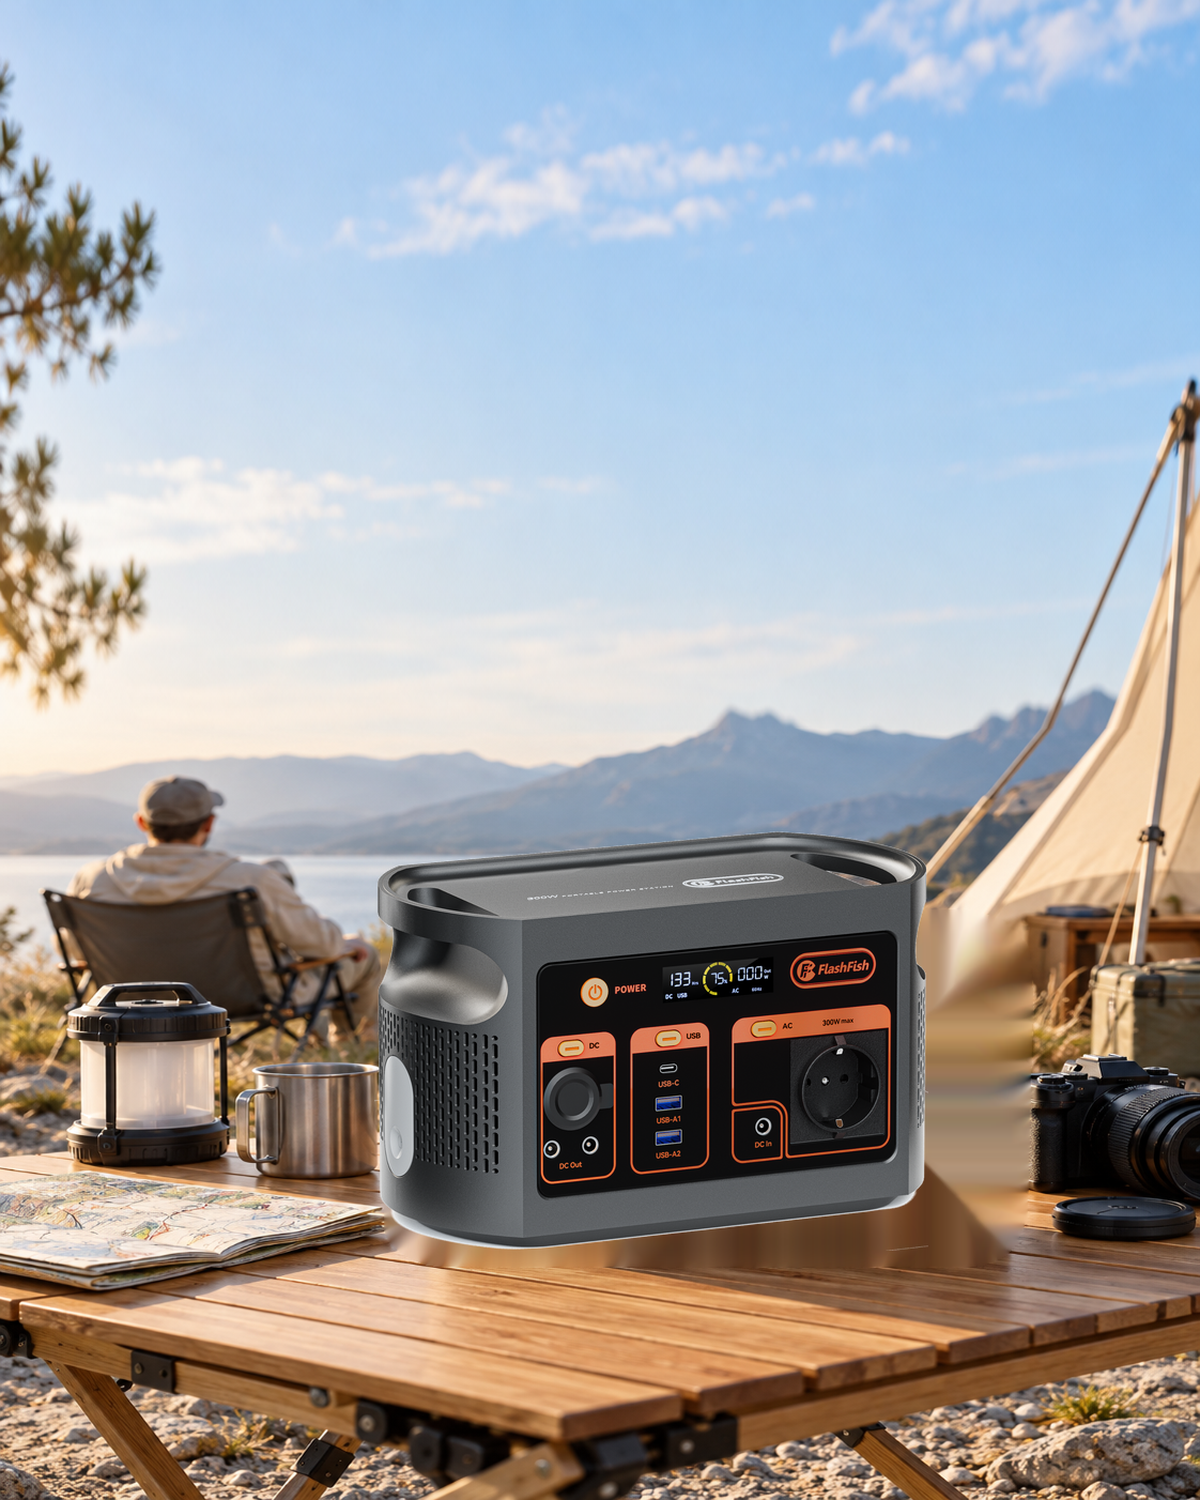
Before an offline trip, prepare the GPX route while you still have connectivity, sync it to your Garmin GPSMAP 67, and open it on the handheld along with the maps you plan to use. A FlashFish E103 can be considered as a power source for a suitable laptop setup, but it does not transfer the route or confirm that the map covers your trip.
Separate the three jobs
| Job | What to check |
|---|---|
| Laptop power | Compare the laptop adapter input label and plug with the actual E103 regional AC output label. Check the adapter's demand against the station's 300 W continuous rating, not its surge rating. Leave margin and follow both manuals. |
| Route transfer | Use a supported GPX route and a documented Garmin transfer or sync method. Power alone does not copy files. |
| On-device check | Find the intended route on the GPSMAP 67, inspect its start, end and intermediate points, and check the installed map coverage for the whole area. |
The E103 has a 179.2 Wh battery and a 300 W rated AC output. Capacity is not the same as usable laptop energy: conversion losses and the laptop's changing load affect how long a setup lasts. Do not rely on a fixed runtime or a matching plug as proof of compatibility.
Choose the computer and power connection
For a concrete Windows example, consider a Framework Laptop 13 with a 13th Gen Intel Core processor and Windows 11. Framework publishes a Windows 11 driver bundle for that generation and a USB port matrix. Make sure the needed expansion cards, drivers and cables are present. Framework recommends a USB-PD adapter of at least 60 W for its laptop. If using its own adapter with the E103, check the exact adapter and station labels, region and physical plug first; stop if they do not match.
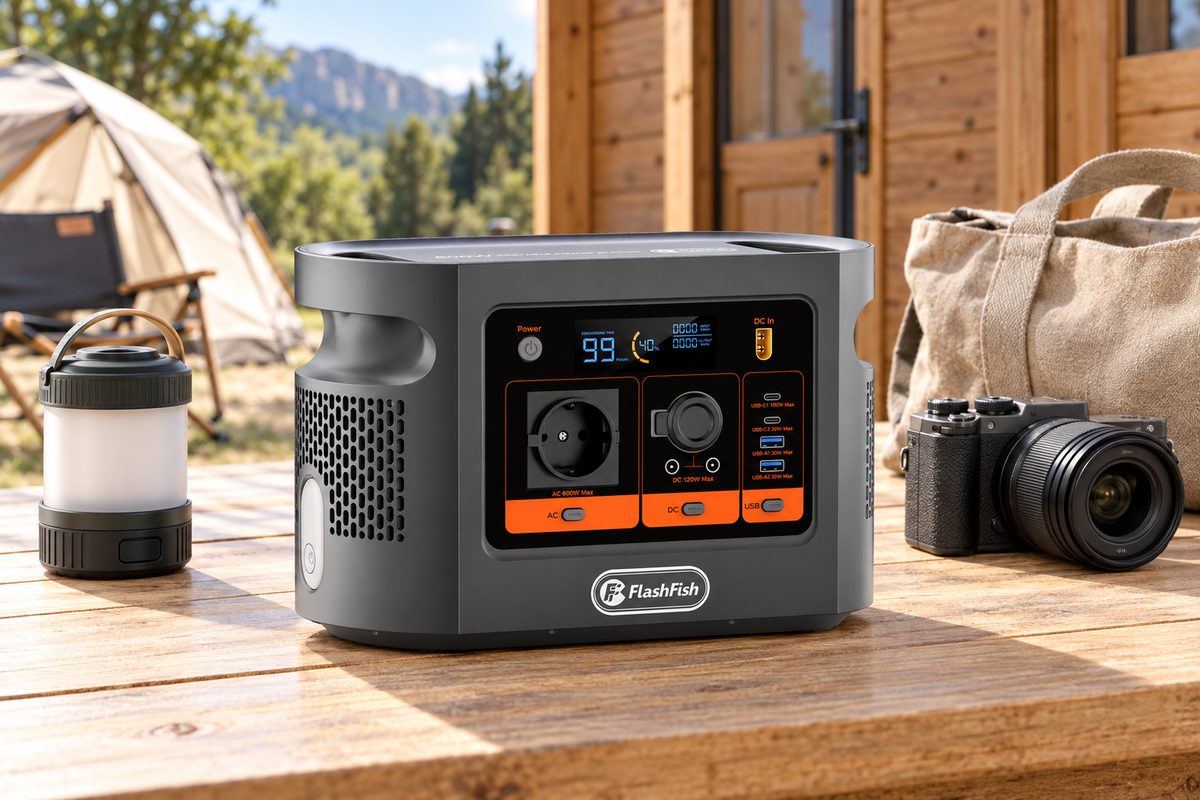
The E103 also has a USB-C output rated up to 60 W, but that number alone does not establish the voltage profiles or prove it will power this laptop. Check the exact station, laptop and cable requirements before relying on direct USB-C power.
Check the E103 against your laptop power route after recording the exact adapter and regional labels.
Prepare and sync the route before leaving
- Keep a copy of your intended route on the laptop. The GPSMAP 67 manual lists GPX route files among its supported file types. A GPX track and a GPX route are different types of data; check what your planning tool exported.
- While online, use a Garmin Explore account, the Explore website and a paired phone with the Explore app. Garmin's Explore import instructions describe importing GPX data into a collection. The GPSMAP 67 connected-features guide describes sharing collections through the paired app. Choose the intended route or track and inspect the result.
- Wait for each sync to finish. On the handheld, press FIND, select Routes and find the intended route. If you imported a track, look under the corresponding tracks option instead. If the item is missing or different from your plan, resolve that while you still have connectivity.
- For a saved route, press MENU twice, open Route Planner, select the route and its map tab. Compare its start, end and key points with your original plan. Garmin documents this view in the GPSMAP 67 owner's manual, page 15.
- Check the handheld's installed maps across the entire intended area and zoom levels you need. Disconnect from network services and reopen the saved route and map before departure. A route line appearing on a screen does not establish map accuracy, current trail conditions or safe navigation.
USB is a separate connection
If you connect the GPSMAP 67 to the laptop, use a suitable data cable between the handheld and a computer USB port, not between the handheld and the E103 as a substitute for the computer. Garmin says to dry the handheld's USB port, weather cap and surrounding area before connection; see its computer connection instructions. The owner's manual explains the computer connection and describes the device as a portable device, removable drive or volume depending on the operating system. This is not a verified direct route-import procedure.
Wait for file operations to finish before disconnecting. Garmin's owner manual says to safely remove a removable drive or volume; it says this is not required when the device is connected to Windows as a portable device. Do not delete unfamiliar system files.
What should I do if the route is missing?
Check that you selected the intended GPX file and data type, that the correct collection was synced, and that the handheld is the paired sync target. Review Garmin's sync instructions and inspect the result again. Do not assume a file on the computer or a successful account upload means it is on the handheld.
Is the handheld ready just because the line is visible?
No. Check the route points and the maps for the full area on the handheld itself. Carry a separate, appropriate navigation backup and make a trip plan suited to the conditions; neither the power station nor this checklist guarantees navigation or rescue.
Method: This checklist is based on manufacturer documentation, not a hands-on test of the named equipment.
Review E103 after checking the laptop setup, then confirm the route and maps work on your own handheld before departure.



Leave a comment
Este site está protegido pela Política de privacidade da hCaptcha e da hCaptcha e aplicam-se os Termos de serviço das mesmas.